Don't miss a drop - Sign up for SMS notifications for exclusive offers!
Don't miss a drop - Sign up for SMS notifications for exclusive offers!
Shop
Support
Blog
Contact Us
Shop
Support
Blog
Contact Us
Menu icon
Menu
Cancel
Search icon
Spinner icon
Translation missing: en.general.icons.icon_search_close icon
Close search
Search icon
Search
Account icon
View account
Cart icon
View cart
Weather Stations
Chevron down icon
Vantage Vue
Vantage Pro2
Sensors
NIST-Traceable Sensors
Weather Station Replacement Parts
Air Quality
Chevron down icon
AirLink
Data Collection
Chevron down icon
WeatherLink Console
Gateway
IP Gateway
WeatherLink Live
Data Viewing
Chevron down icon
WeatherLink Console
WeatherLink.com
WeatherLink App
Mobilize App
Agriculture
Chevron down icon
Gateway
IP Gateway
Sensors
Agricultural Weather Solution Guide
EnviroMonitor Replacement Parts
Enterprise Solutions
Chevron down icon
AEM Enterprise Solutions & Professional Services
Marine
Chevron down icon
Power Boating
Sailing
Wind Indicators
Marine Replacement Parts
Account icon
Log in
Close icon
Close
Weather Stations
Chevron down icon
Weather Stations
Vantage Vue
Vantage Pro2
Sensors
NIST-Traceable Sensors
Weather Station Replacement Parts
Air Quality
Chevron down icon
Air Quality
AirLink
Data Collection
Chevron down icon
Data Collection
WeatherLink Console
Gateway
IP Gateway
WeatherLink Live
Data Viewing
Chevron down icon
Data Viewing
WeatherLink Console
WeatherLink.com
WeatherLink App
Mobilize App
Agriculture
Chevron down icon
Agriculture
Gateway
IP Gateway
Sensors
Agricultural Weather Solution Guide
EnviroMonitor Replacement Parts
Enterprise Solutions
Chevron down icon
Enterprise Solutions
AEM Enterprise Solutions & Professional Services
Marine
Chevron down icon
Marine
Power Boating
Sailing
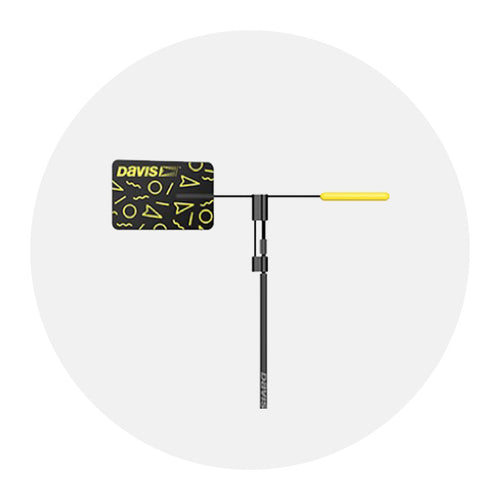
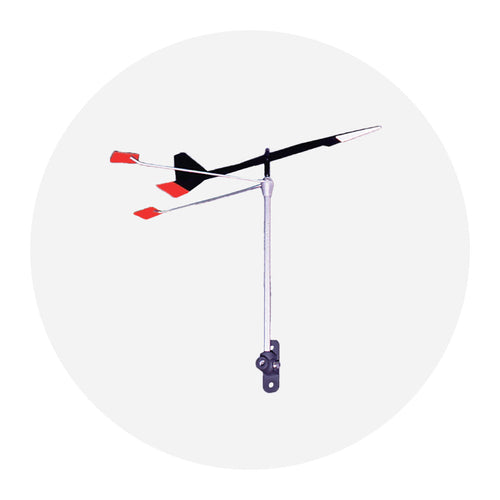
Wind Indicators
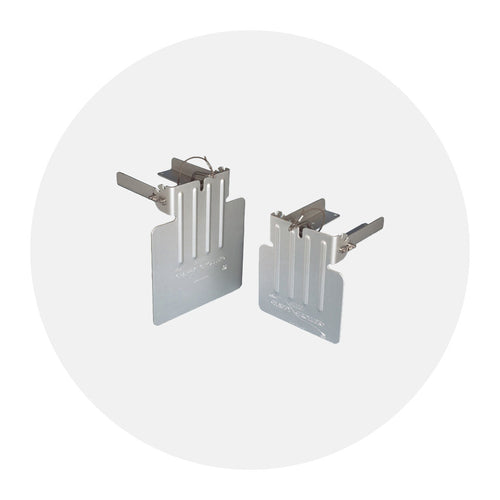
Marine Replacement Parts
Skip to content
FAQ
General Questions
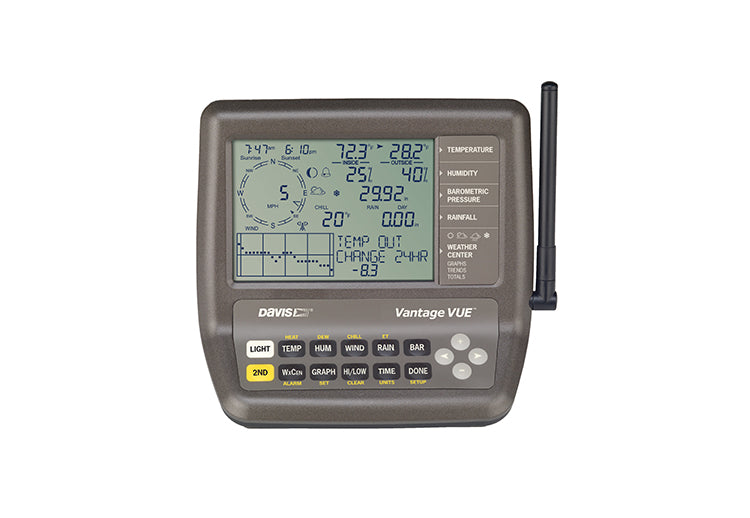
Vantage Vue
Vantage Pro2
WeatherLink Console
EnviroMonitor
AirLink
WeatherLink Live
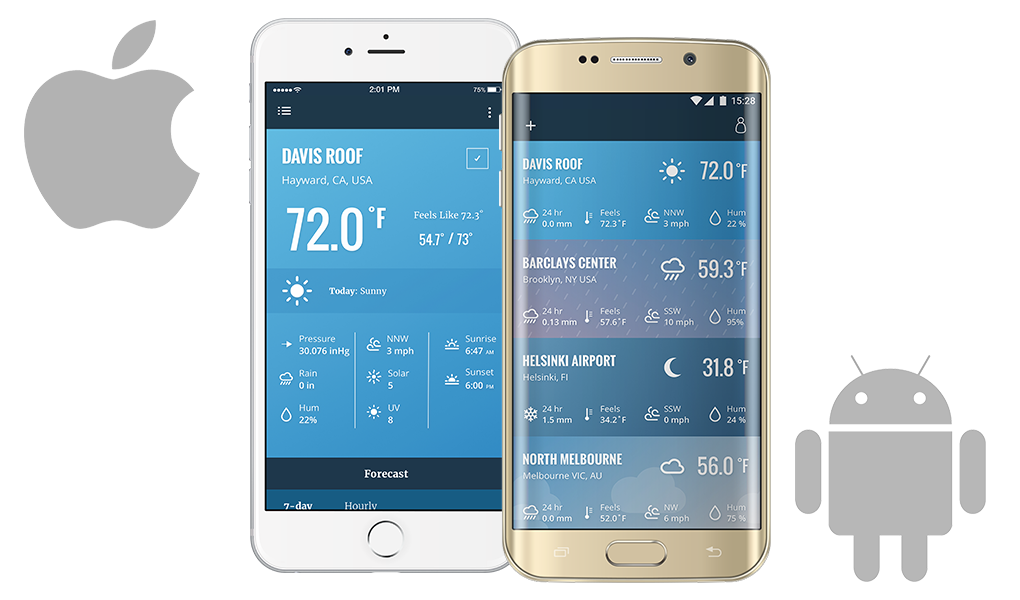
WeatherLink Apps
WeatherLink.com
Marine
Discontinued Products
General Questions
Vantage Vue
Vantage Pro2
WeatherLink Console
EnviroMonitor
AirLink
WeatherLink Live
WeatherLink Apps
WeatherLink.com
Marine
Discontinued Products
Close icon
Checkmark icon
Added to your cart:
** total_quantity ** | ** unit_price ** / ** unit_measure **
Cart subtotal
Close icon
Close icon
Chevron down icon
Chevron down icon