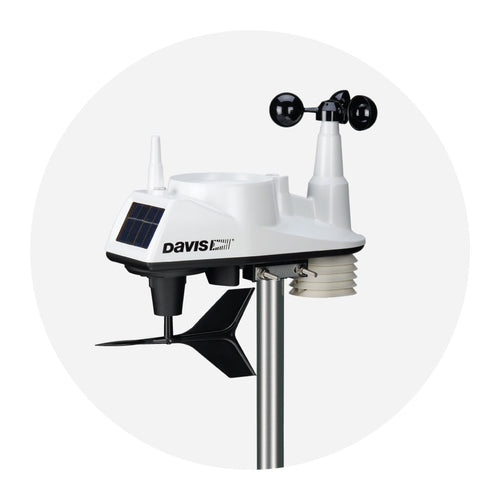


Davis Tech Tips: Replacing Your Vantage Vue Harness Assembly
One of the things that makes the Vantage Vue so durable and rugged in the face of weather is the fact that it uses a unified construction. Since the key components of your Vue are basically encased in a sealed environment, that means that if any one of those parts fails or wears out, the entire harness assembly needs to be replaced.
In this article, we’ll be walking through the steps you can take at home to replace a Vantage Vue harness assembly as needed. The process is straightforward, requires minimal tools, and can be done be done without any advanced technical knowledge using the video below.
Which Davis weather stations is this tech tip for?
This tip is specifically for Vantage Vue users whose sensor suite is from the M-series or later.
You can determine if your station is eligible by checking the sticker on the underside of the unit. If your station came packaged with a console, you can also refer to the serial number on the back of the console (it will be the same as your station’s).
A note on safety
Do not attempt to replace your Vantage Vue’s harness assembly while your weather station is installed on your roof, at the top of a high pole, etc. Take your station down and bring it to a flat, clean working surface.
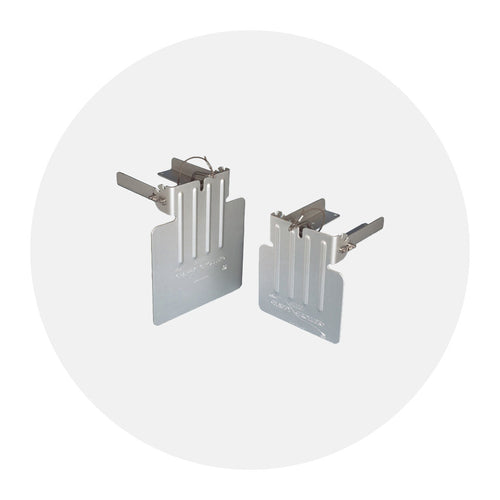
What do I need to replace my Vantage Vue’s harness assembly?
You’ll need:
- Your Vantage Vue sensor suite
- A replacement Vantage Vue harness assembly
- Two Phillips head screwdrivers (one standard sized and one small)
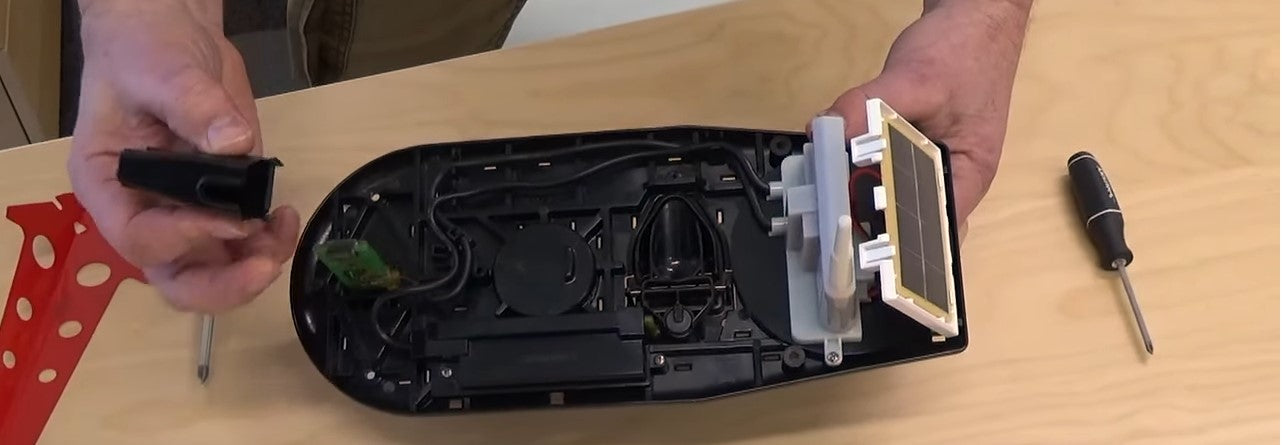
How to replace the Vantage Vue harness assembly
This video, created by our colleague Martin, will talk you through all the steps of removing your Vue’s old harness assembly and installing your new one. We’ve broken the video down into each individual step and have provided timestamps below for reference.
Removing your old harness assembly
- Undo the four screws on the underside of your Vantage Vue to remove the white plastic cover. You don’t have to take off your vane or anemometer cups, but you can if you want to. (1:36)
- Squeeze the top and bottom of the temperature/humidity sensor cover and lift it away, setting it aside. (2:05)
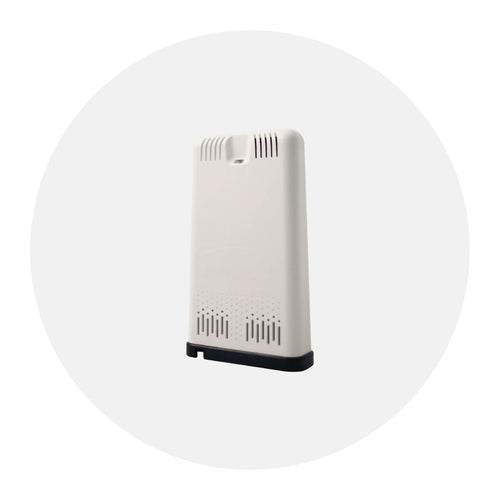
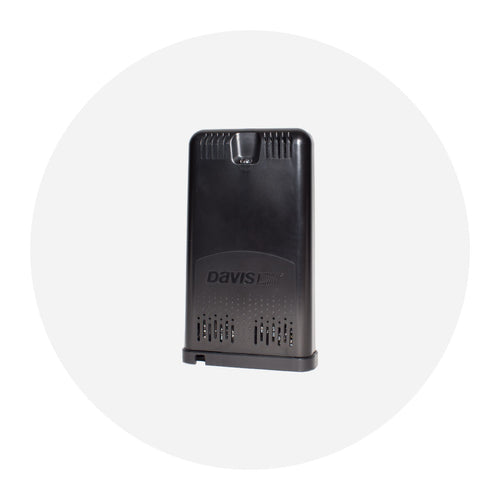
- Take the cover off the battery holder by removing the two screws and set it aside. The circuit board may stay in the cover as you pull it away. If that is the case, gently remove the board. (2:15)
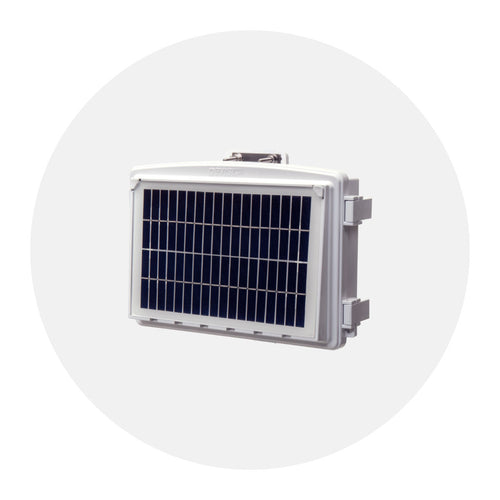
- Lift the two hooks at the top of the solar panel housing and provide gentle pressure to the top of the panel with your finger to loosen the solar panel. Do not pull it away from the unit – you could damage your wires. (3:00)
- Remove the screws on either side of the transmitter box and move the box to the side. Carefully remove the solar panel from its housing. (3:20)
- Remove the two cables from the hooks holding them in place and lift away the boards, cables, transmitter, and solar panel in one piece. This is the harness assembly you’re replacing. If you have a replacement contract, send this part to Davis. (You can learn more about this in your owner’s manual.) (3:57)
Installing your new harness assembly
- Screw the new transmitter box into place, gently placing the solar panel into its housing before you start. The screws should be inserted firmly, but not over-tightened. (4:55)
- Place the bottom of the solar panel beneath the clips at the bottom of its housing and gently press back on the top edge of the panel until it snaps beneath the two hooks. (5:30)
- Slide the battery holder into place, with the board in the slot on the inside of the unit and the metal parts in the slots on the outside edge of the unit. It should slide into place with minimal pressure. (5:55)
- Place the gasket over the stem of the temperature/humidity sensor and insert the sensor into the hole in the bottom of the Vue unit. (6:22)
- Stack the two wires (either can be on top) and push them into the plastic clips to hold them in place. If you have trouble routing the wires with your fingers, try your small screwdriver. (6:38)
- Place the temperature/humidity sensor cover over the sensor, wit the notched side covering the wire. Press the hooks on the bottom of the sensor cover down into the slots on the bottom of the station. (7:05)
- Replace the battery holder cover with the slot side above the board and screw it into place. (7:30)
- If your station had the default ID code of 1, you can ignore this step. If your station was identified as 2-8, you’ll need to use the white button on the underside of your Vue unit to code the ID correctly. (Refer to the owner’s manual for more detail.) (8:05)
- Use the four remaining screws to reattach your Vantage Vue’s white plastic cover. You have now completed installation of your new harness assembly. (8:36)
If you have any questions about this tech tip or your Davis weather station in general, be sure to reach out to our Tech Support team.
![]()
In the face of escalating environmental risks, AEM is the essential source for insights on weather, climate, lightning, floods, wildfires, water management, and more.
Learn more about AEM and all of our solutions here.